Setting Up Workspace Studio
What is Workspace Studio?
Google Workspace Studio allows you to automate tasks across Google apps using AI agents. With Aeralis integrated into Studio, you can automatically generate email drafts based on incoming emails, Calendar events, Form submissions, and more.
Available Aeralis actions
Aeralis provides two actions in Workspace Studio:
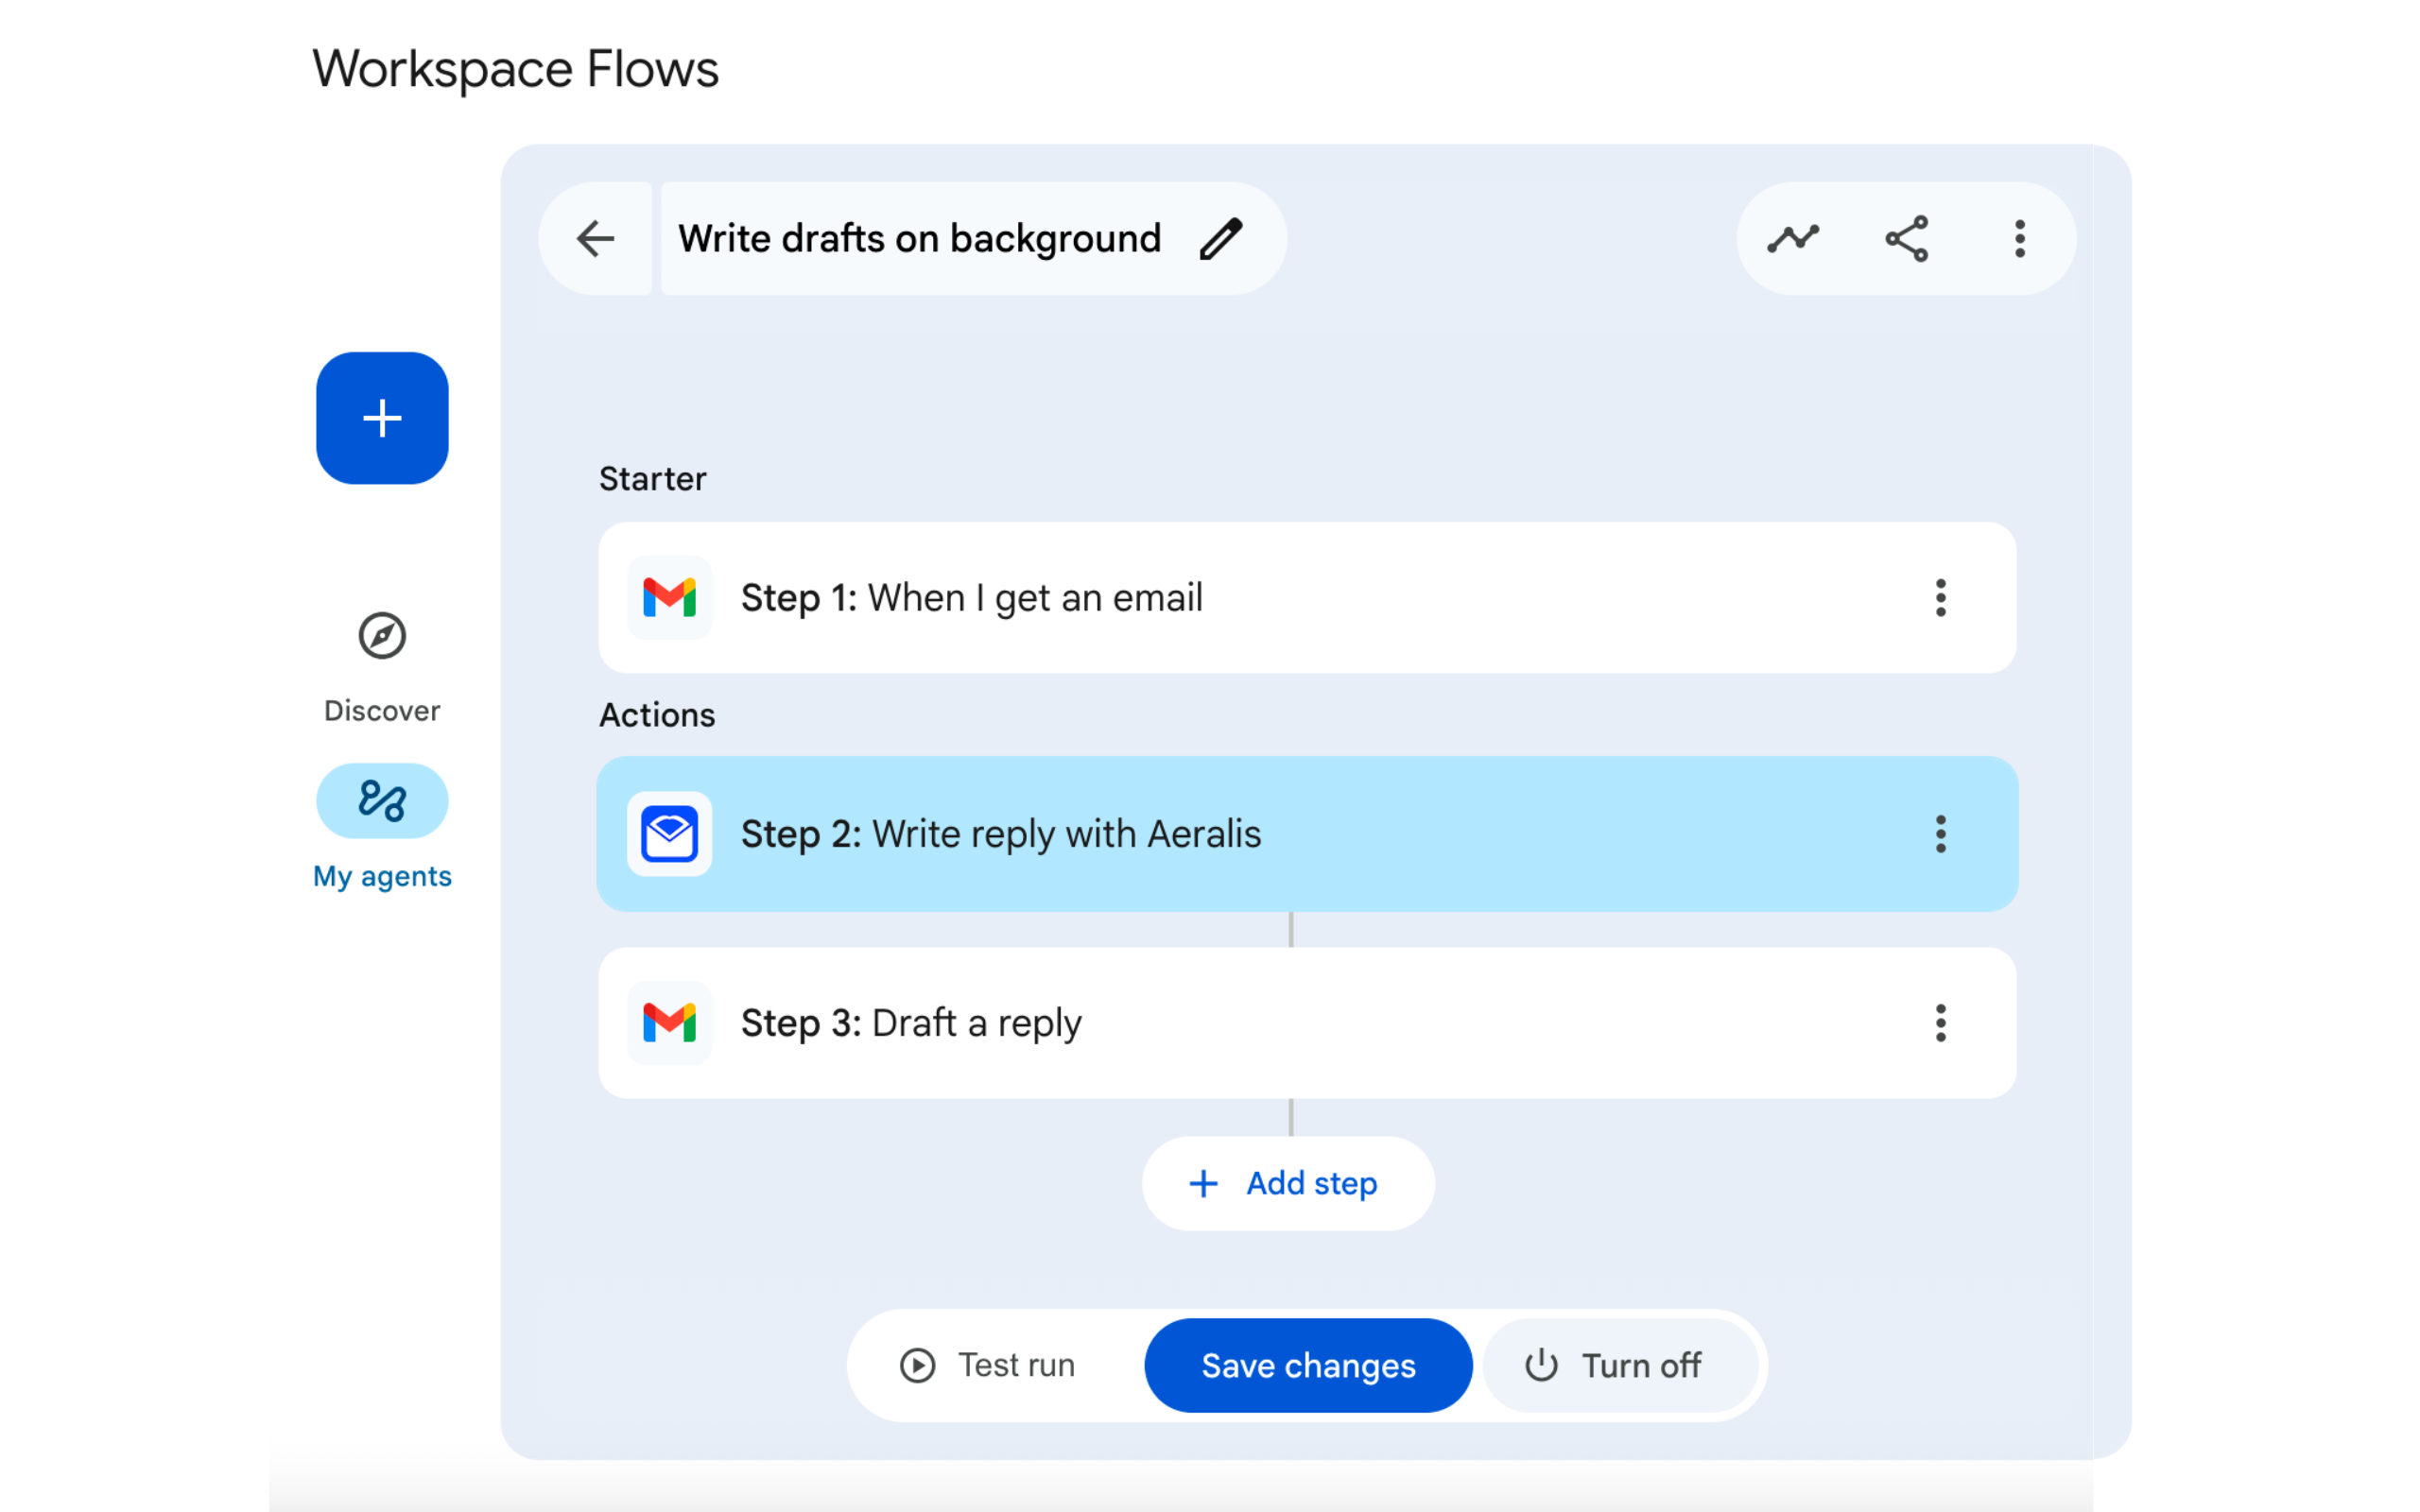
1. Write reply with Aeralis
Generate a reply to an existing email. Use this when your workflow is triggered by an incoming email.
Best for:
- Auto-replying to support emails
- Responding to meeting requests
- Handling vendor inquiries
2. Write new email with Aeralis
Compose a fresh email from scratch. Use this when you need to send emails based on other triggers like Calendar events, scheduled times, or form submissions.
Best for:
- Meeting follow-ups after Calendar events
- Scheduled weekly reports
- Form submission confirmations
- Welcome/onboarding emails
Setting up a reply workflow
Step 1: Open Google Workspace Studio
Go to workspace.google.com/studio or access Studio from within any Google Workspace app.
Step 2: Create a new workflow
Click Create to start a new workflow.
Step 3: Choose a trigger
For the first step, select Gmail as the trigger and choose When a new email arrives. You can configure filters to only trigger on specific emails (e.g., from certain senders, with specific labels, or matching subject patterns).
Step 4: Add the Aeralis reply action
- Click Add step
- Search for "Aeralis"
- Select the Write reply with Aeralis action
Step 5: Configure the reply action
The action has two sections to configure:
Email context
Map the email data from Step 1 (the trigger) to provide context for the reply:
- Email Subject - Select "Step 1: Email subject" from variables
- Email Body - Select "Step 1: Email body" from variables
- Sender Name - Select "Step 1: Sender display name" from variables
- Sender Email - Select "Step 1: Sender email address" from variables
Click the + Variables button to insert values from the trigger step.
Reply settings
Configure how Aeralis generates the reply:
- Instruction for Aeralis (optional) - Add specific instructions like "Decline politely and suggest a new date" or "Thank them and ask for next steps". Leave empty to let Aeralis respond based on your profile's writing style.
- Profile - Select which Aeralis profile to use. The profile's learned writing style determines how the reply sounds.
Step 6: Use the generated reply
The Aeralis action outputs a generated subject and body. You can use these in the next step:
- Add another step after Aeralis
- Choose Gmail > Draft a reply or Send email
- Map the Aeralis outputs to the email fields:
- Use "Step 2: Reply subject" for the subject
- Use "Step 2: Reply body" for the body
Step 7: Test and activate
- Click Test to run the workflow with sample data
- Review the generated draft
- Click Activate to enable the workflow
Setting up a new email workflow
Use this flow when you want to compose emails triggered by events other than incoming emails.
Example: Meeting follow-up workflow
- Trigger: Select Calendar > When an event ends
- Add step: Search for "Aeralis" and select Write new email with Aeralis
Configure the new email action
Recipient (from workflow)
Map recipient data from your trigger step:
- Recipient Email - Select attendee email from Calendar event
- Recipient Name - Select attendee display name
- Subject Hint - Enter a prefix like "Meeting Follow-up: " or map from event title
Email settings
- Email Instructions (required) - Describe what the email should say. Example: "Thank them for attending the meeting and summarize the key discussion points and action items."
- Profile - Select which Aeralis profile to use. The reply will match that profile's writing style.
Use the generated email
- Add a Gmail > Send email or Create draft step
- Map the Aeralis outputs:
- To: Use "Step 2: Recipient email"
- Subject: Use "Step 2: Subject"
- Body: Use "Step 2: Body"
Use cases
Reply automation
| Use Case | Trigger | Example Instructions |
|---|---|---|
| Customer support auto-replies | Email from support label | "Acknowledge receipt and ask for more details" |
| Meeting request responses | Email with "meeting" in subject | "Accept and confirm availability" |
| Vendor inquiries | Email from specific domain | "Thank them and request a quote" |
New email automation
| Use Case | Trigger | Example Instructions |
|---|---|---|
| Meeting follow-ups | Calendar event ends | "Thank attendees and summarize action items" |
| Weekly reports | Scheduled time (Monday 9am) | "Send weekly status update with key metrics" |
| Form confirmations | Google Form submission | "Thank them for their submission" |
| Onboarding emails | New row in Sheets | "Welcome them to the team and share resources" |
| Meeting reminders | Calendar event starts in 1 hour | "Remind them about the upcoming meeting" |
Best practices
- Test thoroughly - Run your workflow with test data before activating
- Use clear instructions - The more specific your instructions, the better the output
- Set up a dedicated profile - Create a profile for automated emails with appropriate context and writing style
- Use Draft first - Start with drafts instead of sending directly, so you can review before sending
- Filter carefully - Use trigger filters to avoid generating emails for every message
Next steps
- Learn about Profiles for Studio automation
- Check our Troubleshooting guide if you encounter issues
Quick Links:
- All Help Topics— Browse help center
- FAQ— Common questions
- Pricing Plans— Compare Free, Pro, and Business
Related Articles
Installing the Gmail Add-on
Install Aeralis from the Google Workspace Marketplace in under 2 minutes. Follow our step-by-step guide to add the AI email assistant to your Gmail account.
Generating Your First Draft
Generate your first AI-powered email draft in Gmail. Select a profile, enter context, and create emails that match your writing style.
Generating Your First Reply
Generate AI-powered email replies in Gmail. Open any email, select your profile, and get a contextual response in your writing style.